
Working with and processing responses from REST APIs in Java can be daunting for developers who are not very familiar with the language. In this tutorial, we will demystify the process behind parsing API responses in Java. We will be working with Spring — a framework for building Java applications.
Tools you will need
Java Development Kit (JDK): A software development environment used to develop Java applications. (At the time of writing, JDK 8 is most compatible with this tutorial).
Maven: A build automation tool used in Java projects. (At the time of writing this article, version 3.2 is most compatible with this tutorial).
Spring Initializr: An application that generates a basic Spring project structure.
Initializing a Java Application with Spring
The first step to getting started is to initiate a new project with Spring. You can do this by navigating to Spring Initializr’s web application and start a new project using the configurations specified below:
# Project - Maven Project
# Language - Java
# Spring Boot Version - 2.4.9

# Project Metadata
# Group - com.example
# Artifact - restapi
# Name - restapi
# Description - A demo project to showcase REST APIs
# Package name - com.example.restapi
# Packaging - JAR
# Java - 8
When you are done configuring your project, click on the GENERATE CTRL + ENTER button to generate a Spring project that can be downloaded and accessed via your IDE. Let’s take a moment to go over some of the configurations selected in creating this project:
- Project: Requires you to choose from either one of two build tools – Maven or Gradle
- Language: Requires you to choose from among one of three languages – Java, Kotlin, or Groovy
- Group: Requires you to specify the package name of your project
- Artifact: Requires you specify the name of your project’s application
- Packaging: Requires you to specify your packaged file format
When you are done configuring your project, click on the GENERATE CTRL + ENTER button to generate a Spring project that can be downloaded and accessed via your IDE. Let’s take a moment to go over some of the configurations selected in creating this project:
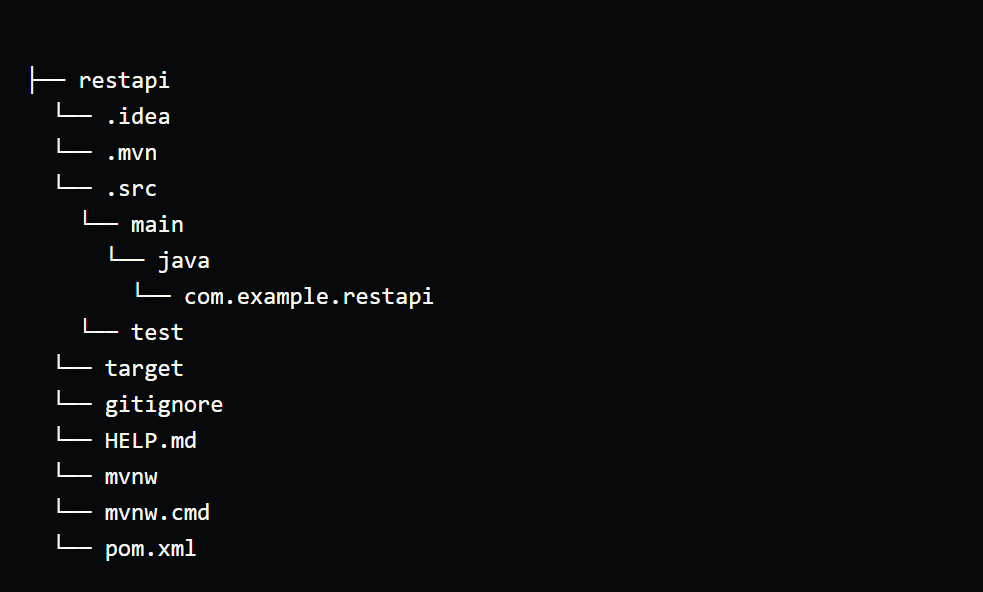
Your downloaded project should have a structure similar to the illustration below:
Defining classes for REST APIs
For our API data, we will make use of an endpoint from Reloadly’s API that returns details on any country based on its ISO code. The URL for accessing this is:
https://topups.reloadly.com/countries/{countrycode}
Where the countrycode parameter represents the ISO code of the country whose data is to be retrieved. For our example, we’ll use the United States (US). When a successful response is gotten, the data will be in JSON and will be similar to this:
{
    "isoName": "US",
    "name": "United States",
    "currencyCode": "USD",
    "currencyName": "US Dollar",
    "currencySymbol": "$",
    "flag": "https://s3.amazonaws.com/rld-flags/us.svg",
    "callingCodes": [
        "+1"
    ]
}
To process this data in your application, you’ll need to create a domain class that contains properties and matching getter methods for the data you intend to retrieve from Reloadly’s API. Your property names should match the exact names of each response parameter in the data to be retrieved as shown in the code sample below:
// Countries.java

package com.example.restapi;

import com.fasterxml.jackson.annotation.JsonIgnoreProperties;

import java.util.List;

@JsonIgnoreProperties(ignoreUnknown = true)

public class Countries {

    private String isoName;
    private String name;
    private String currencyCode;
    private String currencyName;
    private String currencySymbol;
    private String flag;
    private List<String> callingCodes;

    public Countries() {
    }

    public String getIsoName() {
        return isoName;
    }

    public void setIsoName(String isoName) {
        this.isoName = isoName;
    }

    public String getName() {
        return name;
    }

    public void setName(String name) {
        this.name = name;
    }

    public String getCurrencyCode() {
        return currencyCode;
    }

    public void setCurrencyCode(String currencyCode) {
        this.currencyCode = currencyCode;
    }

    public String getCurrencyName() {
        return currencyName;
    }

    public void setCurrencyName(String currencyName) {
        this.currencyName = currencyName;
    }

    public String getCurrencySymbol() {
        return currencySymbol;
    }

    public void setCurrencySymbol(String currencySymbol) {
        this.currencySymbol = currencySymbol;
    }

    public String getFlag() {
        return flag;
    }
    public void setFlag(String flag) {
        this.flag = flag;
    }

    public List<String> getCallingCodes() {
        return callingCodes;
    }

    public void setCallingCodes(List<String> callingCodes) {
        this.callingCodes = callingCodes;
    }

    @Override
    public String toString() {
        return "Country{" +
                "isoName='" + isoName + '\'' +
                "name='" + name + '\'' +
                "currencyCode='" + currencyCode + '\'' +
                "currencyName='" + currencyName + '\'' +
                "currencySymbol='" + currencySymbol + '\'' +
                "flag='" + flag + '\'' +
                "callingCodes='" + callingCodes + '\'' +
                '}';
    }
}
Fetching a REST API resource
Once you’re done creating a class that handles your response data, the next step is to make a request to Reloadly’s API to fetch the data. Upon creating your project, Spring Initializr creates a class that is named after your project and used to run your project. It is from this class that a request to Reloadly’s API endpoint will be made. Let’s take a look at how this is achieved in the code sample below:
// RestApiApplication.java

package com.example.restapi;

import org.slf4j.Logger;
import org.slf4j.LoggerFactory;
import org.springframework.boot.CommandLineRunner;
import org.springframework.boot.SpringApplication;
import org.springframework.boot.autoconfigure.SpringBootApplication;
import org.springframework.boot.web.client.RestTemplateBuilder;
import org.springframework.context.annotation.Bean;
import org.springframework.web.client.RestTemplate;

@SpringBootApplication
public class RestApiApplication {

   private static final Logger log = LoggerFactory.getLogger(RestApiApplication.class);

   public static void main(String[] args) {
      SpringApplication.run(RestApiApplication.class, args);
   }

   @Bean
   public RestTemplate restTemplate(RestTemplateBuilder builder) {
      return builder.build();
   }

   @Bean
   public CommandLineRunner run(RestTemplate restTemplate) throws Exception {
      return args -> {
         Countries countries = restTemplate.getForObject(
               "https://topups.reloadly.com/countries/US", Countries.class);
         log.info(countries.toString());
      };
   }
}
In the code sample above, we defined the following:
- A class called
RestApiApplicationis created. This contains the methods that run and create a build for our application. - A logger which logs our API response to the console is also created.
- A bean annotation which serves as the backbone of our application. It also creates a build for our application.
RestTemplate– a web client abstraction built on the Java Servlet API. It will be used to make our request to Reloadly’s API.
Reloadly’s endpoint can be broken down into:
https://topups.reloadly.com: This is the base URL that makes a request to Reloadly’s servers/countries/US: This is the endpoint where data is to be fetched from,USis the country code for the United States – the country whose data we’re going to view. You can find out more details on Reloadly’s documentation here
At this point, our application should be complete. Let’s run it by navigating to our terminal and using Maven’s run command:
./mvnw spring-boot:runThe video clip below depicts how to do this:
Summary
Spring is a great framework for developers getting started with Java to get a grasp of the language. In this tutorial, we were able to go through the process of making a basic API call from an endpoint and retrieve a response. Should you need to go through the code sample for this, you can find it here on GitHub.